7 Tips to Perfect Your Front Squat Form
The front squat is one of the most effective lower body exercises, offering tons of benefits from strength and muscle size to athleticism and mobility. The same exercise can also be daunting because it requires coordination from head to toe.
This challenging squat variation can even be awkward for some lifters because it demands more mobility and relatively more technique compared to some other movements. But, once mastered, it will build your legs, core, and upper back like no other. It’s also a must if you want to dabble in Olympic weightlifting or CrossFit, or you want to drive your back squat numbers up.
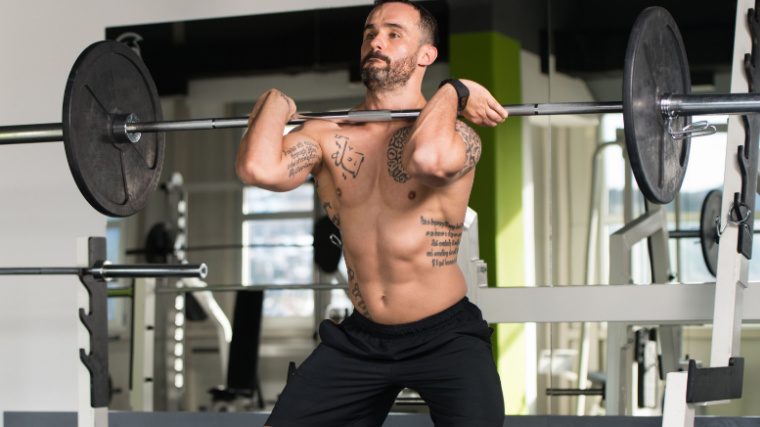
Check this list of the best cues and tips to help you master the front squat. Whether you’ve never performed the movement or if you need to fine-tune details to take your performance to the next level, here’s what you need to know.
Perfect Your Front Squat Form
Front Squat Upper Body Cues
While the front squat is primarily a “leg exercise,” your upper body is thoroughly involved in the movement. Your shoulders, arms, and back must coordinate to support the barbell and stabilize the weight during each repetition. A misstep with any of these key body parts will lead to an inefficient, and potentially dangerous, performance. Here’s what to watch for.
Position The Barbell Properly
Even when placed correctly on the fronts of your shoulders, the barbell can be in a potentially uncomfortable position, so it’s easy to imagine the risks of trying to front squat with the bar in the wrong place. It should rest between your anterior deltoids (front shoulder muscles) and your clavicles (collarbones).

What often happens is that it is placed directly on the shoulder muscles — this is not only painful as the weight will compress down into your muscle belly, but the bar will be more likely to roll as you move through the repetition, decreasing stability while acting like a rolling pin on your soft shoulder muscles.
With a poor position, the bar could also potentially roll into your throat if you don’t elevate your shoulders by “shrugging” them up and forward to support the weight.
Find Your Best Grip
There are several ways to “rack” the barbell for a good front squat bar position. The standard front rack position — commonly seen in Olympic weightlifting with your palms toward the ceiling — is the most effective because it provides more stability with the most control over the bar. However, it requires a high degree of mobility throughout your arms and can be painful on your wrists.
If you’re a competitive weightlifter or CrossFit athlete, you should strive to master the front rack position and use a full grip (all the fingers around the bar). If you’re not participating in either of those sports, you can take off one or two fingers to alleviate the wrist pressure and reduce the wrist and elbow mobility requirement.
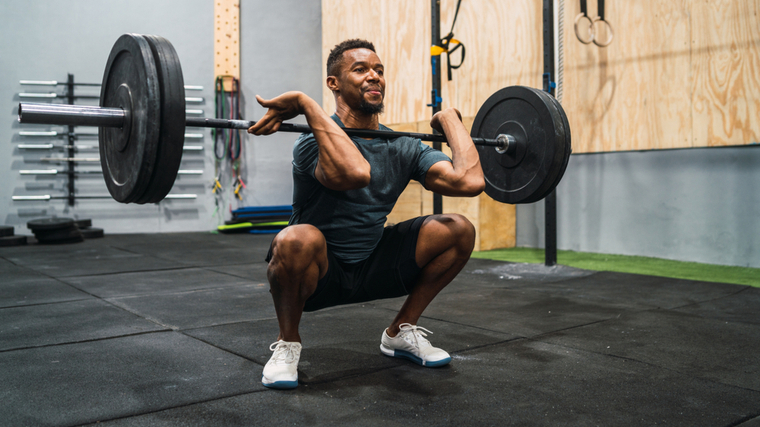
If you’re still unable to achieve a rack position, switch to a “California grip” — cross your arms in front of you with the barbell between your fingers and the fronts of your shoulders. It’s a relatively easier position with much less mobility demands, but the bar won’t be as stable and might slip around, especially if your elbows point down to any degree.
A third option would be to secure a pair of lifting straps around the bar and use the ends as handles, simply referred to as performing the “front squat with straps.” This places your arms similar to the classic rack position, with the straps allowing a neutral-grip with your palms facing each other, which reduces wrist strain. The length of the straps also brings your hands farther from your shoulders, which also decreases any mobility concerns.
In any case, don’t force yourself into an arm position you can’t maintain comfortably throughout the set. It will compromise the stability of the entire lift and could potentially stress your shoulder, elbow, and wrist joints. Introducing a mobility routine for your thoracic spine (upper back) and wrists before every lifting session will benefit you greatly in the long run. Even something as simple as getting into the rack position without any weight added to the bar could be a good first step.
Lead With Your Elbows
From the moment you unrack the back, through the squat descent, and as you drive the weight up to a standing position, keep your elbows as high as possible. The strain of the weight will make you want to drop your arms down, and that’s normal, but fight it. Stay tight and focused.
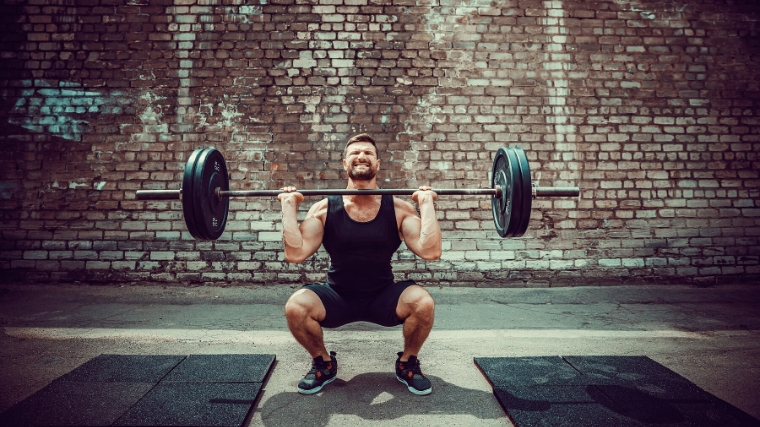
Keeping your elbows up will ensure your upper back remains in a strong position and helps to prevent your back from rounding forward. A good back position, led by your elbows and upper arms, provides a stronger bracing position which encourages a stronger and more stable upper body.
Additionally, keeping your elbows high will help to prevent the barbell from falling forward out of your front rack position. Ditching the bar forward is one of the most common causes of failure on a front squat repetition and could be potentially dangerous, especially if your instinct is to try to recover the bar rather than letting it fall safely to the squat rack or floor.
Don’t Let Your Upper Back Round
The front squat requires tremendous core and back strength to keep your torso upright and drive the barbell up. Yes, you read that right, you need serious back strength to perform this squat.
Because the weight is positioned on the front of your torso, the anterior loading will greatly recruit your erector spinae (lower back) and upper back muscles. (1) As such, your upper back will typically be one of the first muscles to give out, because it’s relatively smaller than larger muscles involved in the movement, like your legs. This upper back fatigue can result in back rounding.
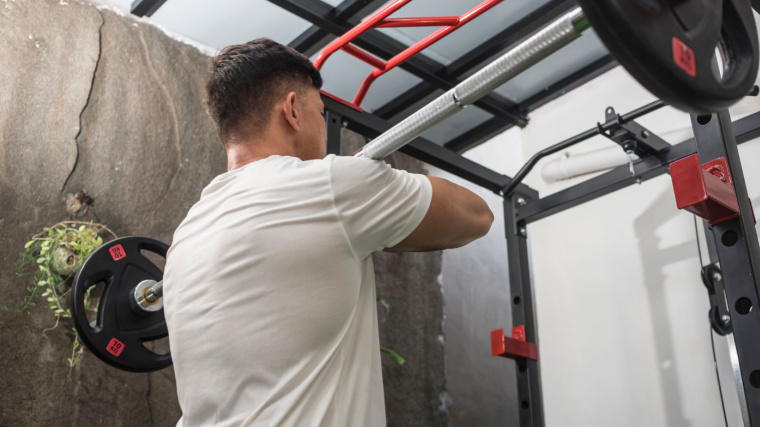
To prevent any injury and to better target your legs, avoid letting your upper back round forward. Drive your elbows up during the entire movement. Your elbows lead the way for your upper arms which, through your shoulders and shoulder blades, dictate your upper back position.
You can support your front squat performance by including direct ab training and upper back exercises as part of your overall training program. These accessory exercises will help to develop the type of support strength needed to maintain a strong torso position.
Front Squat Lower Body Cues
To maximize leg recruitment for the most muscle-stimulating, strength-building benefits, it’s essential to use your lower body efficiently during the front squat. These are the key points you want to follow to ensure a perfect form and avoid the most common blunders.
Don’t Let Your Heels Raise
Because the weight is located on the front of your body, the front squat will slightly shift the workload towards the anterior chain (including your quadriceps and abdominals), making it a great quad-focused muscle builder. (2)
But this anterior loading isn’t just a benefit. The position of load might cause a generally forward shift in your center of gravity, which can be amplified by poor mobility in your upper back or ankles. This all combines to make your heels want to rise off the ground in an attempt to stay “under” the weight.
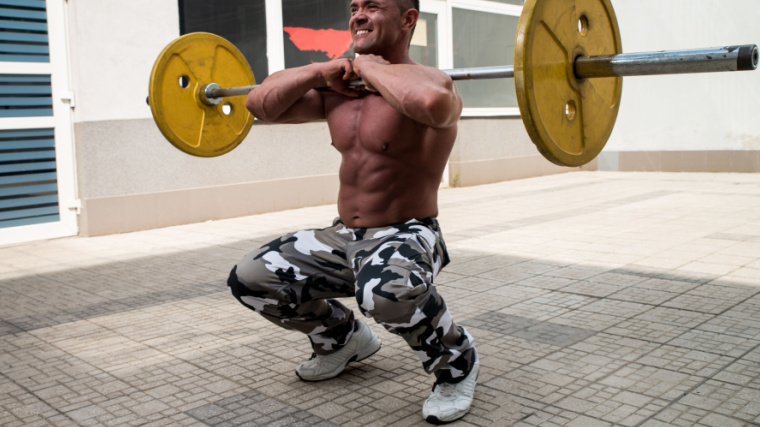
Doing so will reduce your stability, put pressure on your back, and prevent yourself from fully using your legs. Make sure that your heels always stay in contact with the floor. If needed, use weightlifting shoes, sit a bit more backward, and focus on driving through your heels — if your heels are up, you’ll quickly realize they’re not in place and you can make an immediate correction.
Work on Your Mobility
The front squat is notorious for its mobility demands, particularly from the hips and ankles. As some lifers lack a high degree of mobility in these areas, the front squat can become an awkward, uncomfortable, or even seemingly impossible exercise to perform.
Because the front squat allows a relatively deeper squat position and involves more knee flexion compared to the back squat, a greater ankle angle is required to achieve the bottom position.
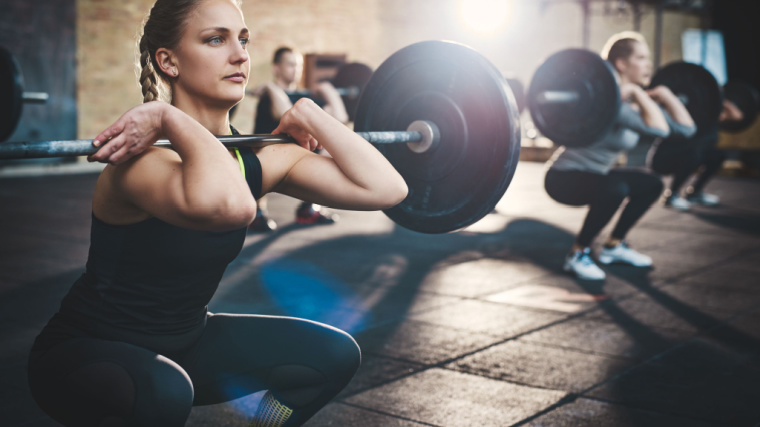
Work on your ankle joints and stretch your calves to gradually improve your ankle health and mobility. This will pay off by being able to more easily squat into “the hole” at the bottom of each rep with more power and control.
You can also circumvent the issue by putting a five-pound weight plate under each heel or wearing weightlifting shoes with built-in elevated heels. Both of these solutions will help you achieve a deeper squat position with less strain on your ankles and hips. (3)
Beware of Knee Caving
It’s usually easier to squat deeper with the barbell loaded in the front rack position, but this longer range of motion can also increase the chances of your knees “caving in” toward each other as you transition into, and out from, the bottom position.
Your knees should remain in line with your toes during the exercise, but excessive valgus (when your knees come toward each other) can happen, especially as you go deeper. This results in your knees caving inwards and stress shifting away from your legs muscles and onto your knee stabilizers.
This will create shift in tension causes a strength leak, which reduces your potential power output. More importantly, it also put your knee joints in a vulnerable position with an increased risk of injury.
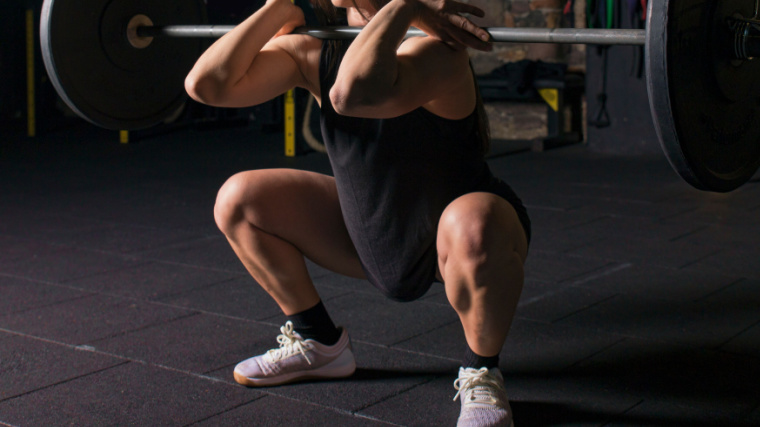
You can help to avoid knee cave by checking that you have good ankle mobility to reach the bottom position. Ingrain proper squat mechanics and apply sound technique for every individual repetition — use a lighter weight, if necessary, to maintain good form. Cue yourself to abduct your legs, actively driving them outward, as you rise out of the squat. This will also help to recruit your glutes for strength, coordination, and stability.
How to Perform the Front Squat
The front squat is a multi-joint exercise that can improve size and strength in your lower body, core, and upper back, as well as build total-body stability. It might be relatively more challenging to master than the standard back squat but, don’t worry, it’s not that complicated when you focus on a few key steps.
Step One — Rack the Bar on Your “Shelf”
The first step is to get the barbell into a front rack position. Grab it using a wider-than-shoulder-width grip. Reach your shoulders forward and shrug them up to create a solid “shelf” of muscles for the bar to rest, then get under the weight.
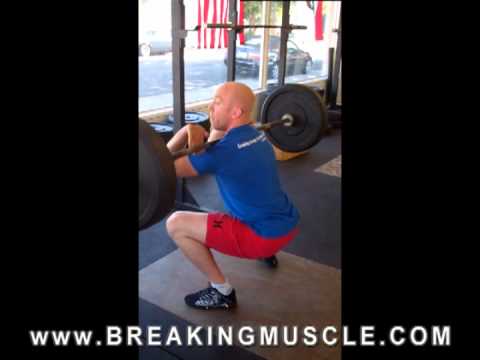
The barbell should set firmly between your deltoids (shoulder muscles) and your clavicles. Keep your elbows up. Unrack the bar and take a step backward.
Step Two — Lower With Control
Settle your feet at a comfortable width, generally between your hips and shoulders. Take a deep breath and brace your core as hard as you can. Fix your eyes on a spot in front of you and look at it throughout the entire repetition.
Bend simultaneously at your hips and knees to squat down with control until your upper thighs are parallel to the ground, or slightly below.
Step Three — Drive Up the Weight
Keep both feet flat on the ground and push through your heels to extend your legs and drive the weight up forcefully. Keep your elbows high and aimed in front of you the whole time. Don’t let the weight pull you elbows to the ground.
Keep your core and upper back fully engaged. Relaxing either muscle group with reduce your power and lead to a dangerous and inefficient rounded back position. Once you’re standing fully upright, repeat for the desired amount of repetitions.
A front row exercise for size and strength
The front squat is a prime exercise to build lower body size and strength and a core of steel. It’s also easier on your joints than other squat variations. (4) Don’t be put off by the potential awkwardness or mobility requirements. Get to work applying these cues and you can bring your physique to the next level. Adding the front squat to your workout repertoire will pay off with total-body strength, more muscular legs, and improved mobility that carries over to better performance in and out of the gym.
References
- Comfort, Paul; Pearson, Stephen J; Mather, David. An Electromyographical Comparison of Trunk Muscle Activity During Isometric Trunk and Dynamic Strengthening Exercises. Journal of Strength and Conditioning Research 25(1):p 149-154, January 2011. | DOI: 10.1519/JSC.0b013e3181fb412f
- Hasan Ulas Yavuz, Deniz Erdağ, Arif Mithat Amca & Serdar Aritan (2015) Kinematic and EMG activities during front and back squat variations in maximum loads, Journal of Sports Sciences, 33:10, 1058-1066, DOI: 10.1080/02640414.2014.984240
- Charlton, Jesse M.; Hammond, Connor A.; Cochrane, Christopher K.; Hatfield, Gillian L.; Hunt, Michael A.. The Effects of a Heel Wedge on Hip, Pelvis and Trunk Biomechanics During Squatting in Resistance Trained Individuals. Journal of Strength and Conditioning Research 31(6):p 1678-1687, June 2017. | DOI: 10.1519/JSC.0000000000001655
- Gullett, Jonathan C; Tillman, Mark D; Gutierrez, Gregory M; Chow, John W. A Biomechanical Comparison of Back and Front Squats in Healthy Trained Individuals. Journal of Strength and Conditioning Research 23(1):p 284-292, January 2009. | DOI: 10.1519/JSC.0b013e31818546bb
Featured Image: Tyler Olson / Shutterstock
The post 7 Tips to Perfect Your Front Squat Form appeared first on Breaking Muscle.
source https://breakingmuscle.com/front-squat-form/
Comments
Post a Comment